Step By Step Guide: How To Open An Oyster
-
October 4th, 2012
-

The old adage "only ever eat an oyster in a month with an 'R' in" is partly true. There are historical reasons that the molluscs weren't eaten during May, June, July & August. Before refrigeration, eating shellfish during hot months was pretty risky. Since the 1800's, in the UK it has been illegal to harvest native oysters during the summer months to protect them during their breeding season.
From a health perspective, as the coastal waters warm up, poisonous algae blooms may be carried by oysters, making the eating marginally less safe. Plus some people reject oysters on grounds of taste during the summer months - they can be plump and disconcertingly creamy, with far less flavour.
Outside of the summer months, the main choice is between 'rock' or 'native'. Rocks are related to the pacific oyster, which was introduced to Britain in the 1960's, and are available all year round. Natives are 'native' to the UK, grow more slowly which intensifies their flavour and are only available from September to April. Try some, and see what you like. It's fun to stick with one variety and try it year round - you'll notice changes in colour, flavour and texture. A green tinge can be off-putting, but sometimes that's just the way they are.
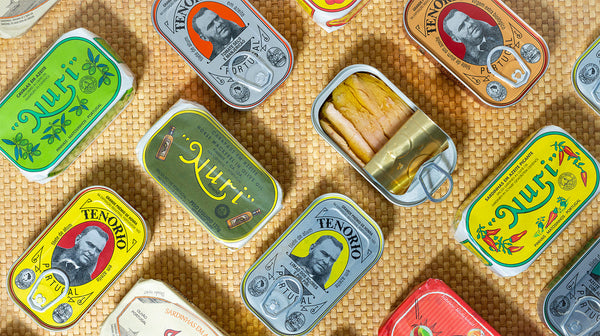
Available from fishmongers and now even the fish counter of many supermarkets, what better luxury can you bring home for just a few quid a person? Our preference is to serve simply, just opened on a platter of ice, with a slice of lemon, and maybe a splash of tabasco.
Step by step: How do I open an oyster?
Hold the oyster firmly using a tea towel, with the pointed part of the shell pointing out. It can be difficult to distinguish, but try to have the deeper of the oysters two shells on the bottom - so it acts like a small bowl to keep the brine in, once the shell is opened.

Place the tip of the oyster knife between the two shells, where they come to a point, making sure the oyster knife is pointing away from the hand holding the oyster. To be extra careful, use the towel to protect the hand holding the oyster as well.

With the tip of the oyster knife pressing between the two shells, twist the tip firmly. This may take some pressure, but when complete you will hear a small pop as the muscle gives way and the shell pops open.

Slide the knife further in, keeping it pressed close against the top shell of the oyster. You are trying to slice through the muscle attached to the top shell, without damaging the oyster itself.

Pull the oyster open, and wipe any flecks of shell away with a cloth.

To make for easier eating, then run the knife along the underside of the oyster, to release it from the bottom shell.
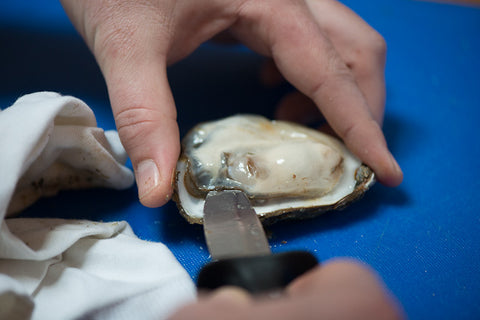
A final flick with the knife to turn the oyster over, makes for far neater serving. We didn't do this with most of the oysters in the pictures at the top of this article, and you can see the difference!